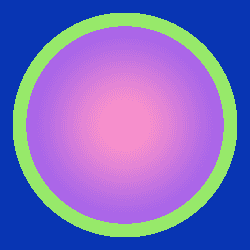
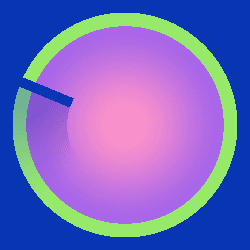
A lot of my experience working in the automotive sector involved creating procedural materials to save on texture memory overhead. When I was given this project to replicate as part of a skills test I noticed that the provided assets were very texture heavy. Texture memory tends to be very limited on cluster hardware, so I opted to recreate the assets with a procedural shader instead of binding textures.
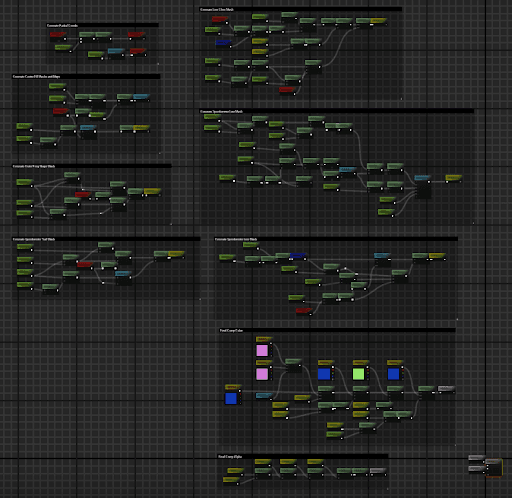
Below is a step by step breakdown of how I did the speedometer in the center of the cluster.
First, two grayscale coordinate maps are generated. The first is a simple distance map from the center of the shader area, and the second is a clockwise radial map for generating slices or radial gradients.
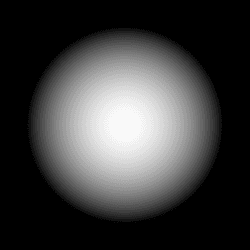
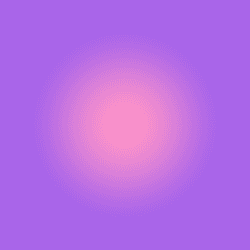
Next, I set up the maps for the center of the gauge. The reference image included a subtle inner glow type shadow. I used smooth step on the distance coordinate map to generate a soft gradient that’s then taken to the power of a bias scalar so that the “spread” of the shadow can be controlled.
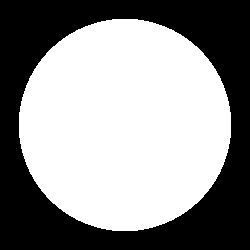
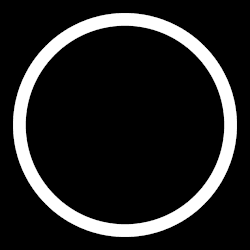
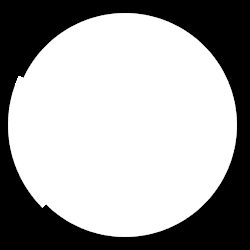
Because the border overlays this part of the gauge, I don’t need a soft edge on the region mask. A value step of the greyscale coordinate map set halfway between the inner and outer extents of the border layer is perfectly acceptable.
Now it’s time for final composition. The alpha mask is the simpler of the two; I add all of the major shape components together and saturate the result.
As a warning, I always choose truly horrible colors when doing final color comp in the Material itself that are replaced with the correct colors in the Material Instance. It makes it a bit more obvious that I’m grabbing the correct one when assigning it in the editor.
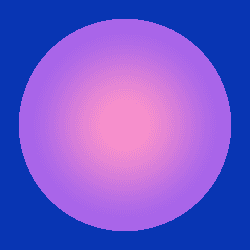
With that warning out of the way, I start with the color of the speedometer's dial and then I lerp the inner and outer colors of the center of the gauge using the center gradient mask.
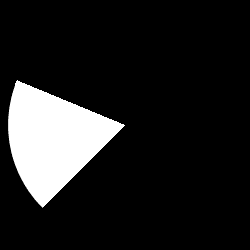
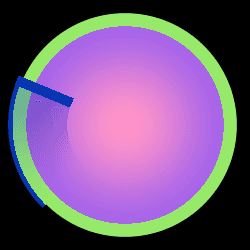
I lerp these two together with the circle mask, continuing the pattern by lerping the previous with the color of the border using the border mask. Then, by lerping the trail mask (multiplied by an opacity value) with the line color, I then lerp that result with the line color using the line mask to get the final color output.
Then, applying both the color comp and the opacity comp gets us our final material.
